Tired of subscription emails cluttering your inbox?
I was too, until I figured out how to automate filtering in Gmail. By setting up smart filters based on common traits in these emails, I now keep my inbox clean without constantly deleting or archiving messages manually. Let me walk you through how I do it.
Step 1: Identify Common Traits in Subscription Emails
Most subscription emails share a few characteristics that make them easy to filter:
- “Unsubscribe” Links – Look for phrases like unsubscribe, manage subscriptions, opt-out in the email body.
- Sender Addresses – Many companies use consistent sender addresses or domains, like noreply@example.com.
- Subject Line Keywords – Words like newsletter, weekly digest, updates, or even the company name often appear.
- Email Variations – When signing up for services, consider using variations of your email (e.g., yourname+news@gmail.com) to make filtering even easier. Checkout here for details
Step 2: Set Up Filters in Gmail
Here’s how you can create powerful filters:
- Open Gmail and go to the search bar at the top.
- Refine your search – Use keywords, sender addresses, or phrases to find emails you want to filter.
- Click “Show search options” (the small filter icon at the right of the search bar).
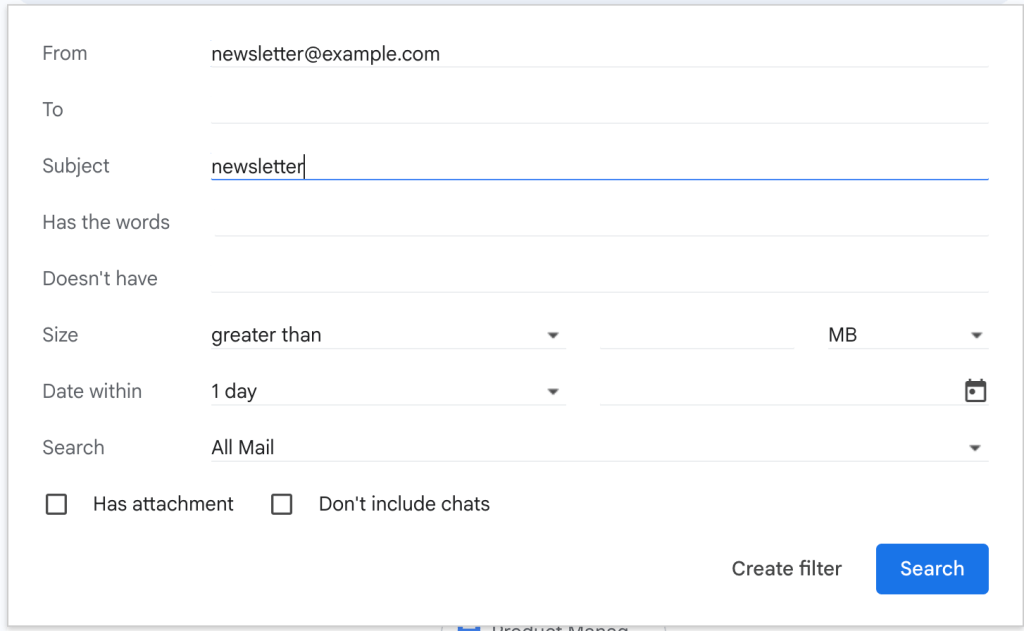
- Fill in the filter criteria:
- From: Enter the sender’s email if it’s consistent.
- Subject: Use keywords like newsletter or weekly digest.
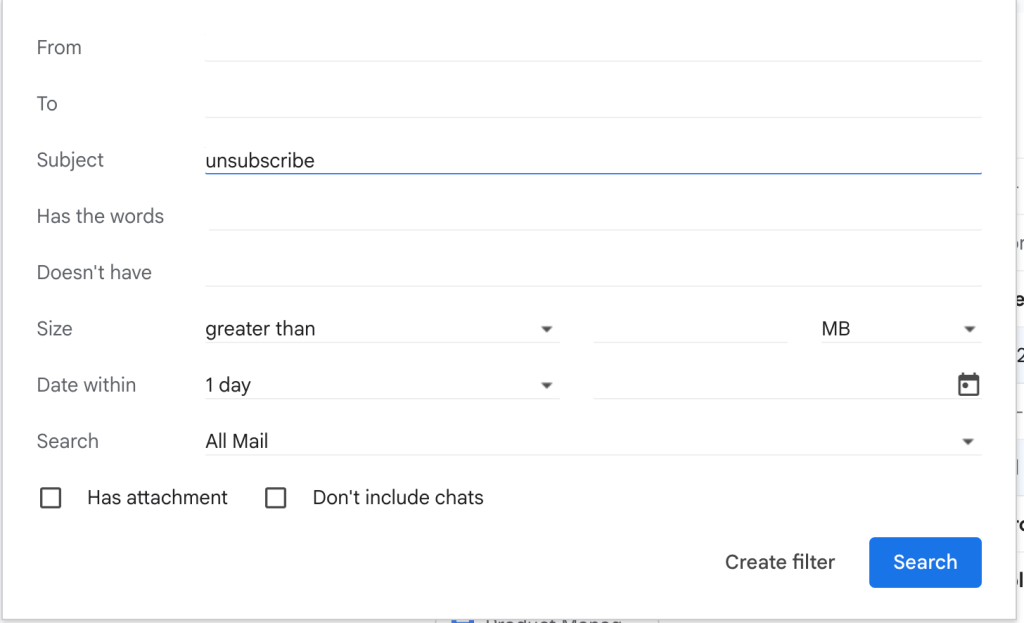
- Has the words: Add terms like unsubscribe or manage subscriptions.
- Has attachment: Check this if subscription emails often include attachments.
- Click “Create filter”, then choose how you want Gmail to handle these emails:
- Skip the Inbox (Archive it) – Keeps emails but keeps your inbox clear.
- Apply a label – Organize them under labels like Subscriptions or Newsletters.
- Mark as read – Useful if you don’t need to check these emails.
- Never send it to Spam – If Gmail is mistakenly marking important subscriptions as spam.
- Apply filter to existing emails – Helps clean up past emails immediately.
- Click “Create filter” again to save your settings.

Step 3: Keep Your Filters Effective
- Review filters regularly – Subscription formats can change, so update your filters as needed.
- Use multiple filters – Create separate filters for different newsletters or senders for better organization.
- Leverage the “List-Unsubscribe” header – Gmail automatically adds an unsubscribe option for many emails, so take advantage of it when needed.
Example Filters in Action
- Filtering newsletters from a specific company
- Filter:
from:newsletter@examplecompany.com subject:newsletter - Action: Apply label Example Company Newsletter
- Filter:
- Catching all emails with “Unsubscribe” in the body
- Filter:
has the words:unsubscribe - Action: Apply label Subscriptions
- Filter:
- Organizing weekly digests
- Filter:
subject:"Weekly Digest" - Action: Apply label Weekly Digests
- Filter:
Pro Tips
- Start broad, then refine – If too many emails are caught, narrow the filter criteria.
- Use multiple conditions – Combining sender, subject, and body text improves accuracy.
- Test your filters – Check your labeled emails to confirm they’re being sorted correctly.
With these simple steps, you can take control of your inbox and stop subscription emails from overwhelming you. Give it a try, and enjoy a cleaner, more organized Gmail experience! 🚀

Leave a reply to From 25,000 to 500: How Gmail Filters Saved My Sanity (and My Inbox) – GoBoolean Cancel reply